
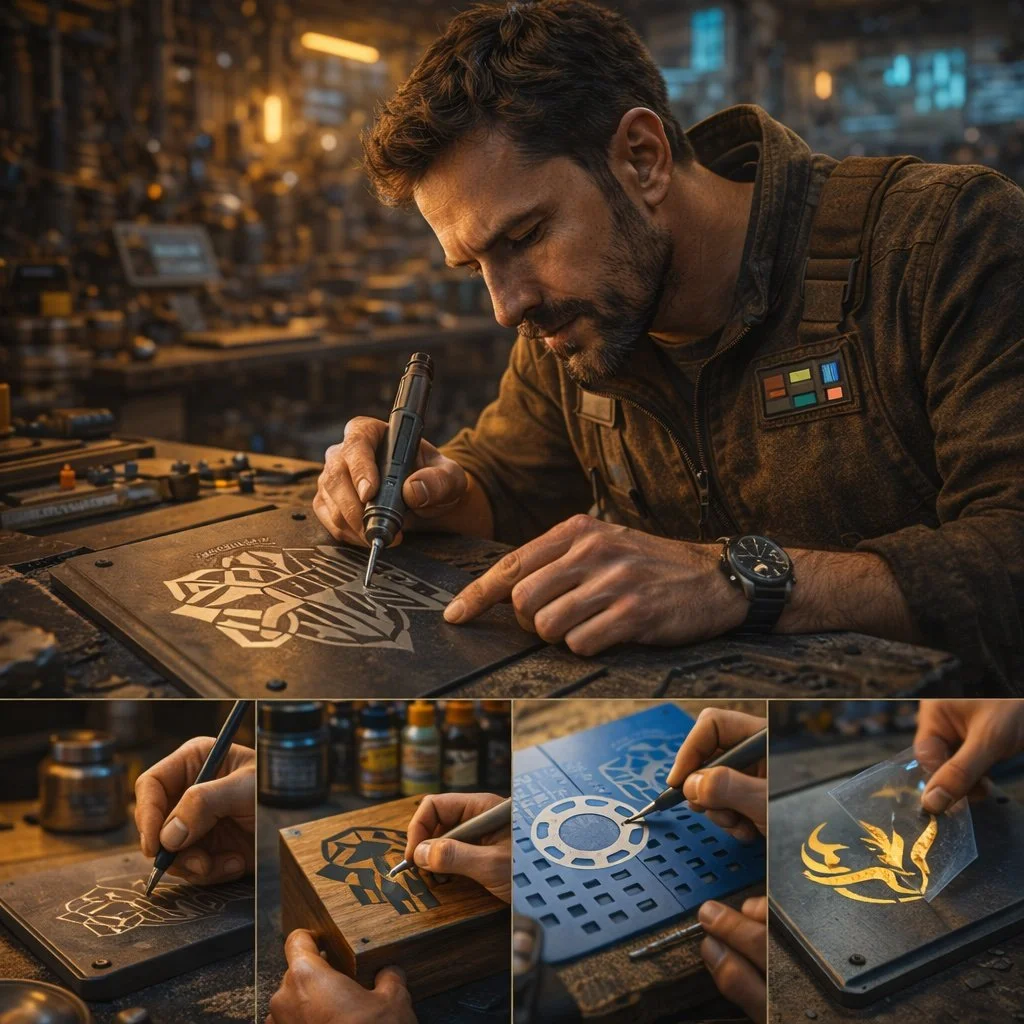
4 Techniques To Add Custom Designs To Projects (Even If You Don't Have A Laser Or CNC)
After creating a few projects, many Makers want to progress to adding custom details and embellishments to projects.
The easiest thing to do is purchase a laser or CNC to engrave the design or precisely carve it out, but neither option is cheap. Plus, unless you plan on selling products, it will take forever to recoup the investment cost from the savings of making gifts yourself. One thing that helped me was to realize that 20 years ago, we didn't have home access to these machines anyway, but people still figured out how to be creative.
If you're looking to hone your skills this winter break, try out these 4 techniques to add custom designs to your projects without needing a laser or CNC.
Technique 1: Carve With A Router Or Dremel
A CNC is really just a precise router that's controlled by stepper motors and g-code, so why not do it by hand?
For larger designs, use a palm router with either a v-carve or up-spiral bit. Same for smaller designs, but using a Dremel and, if you want, a depth stop to stay consistent. Just remember to take shallow passes and slowly remove material to the line because more material can always be carved away, but not put back.
It takes a little practice, but it's well worth honing your skills to be able to carve by hand when you want to.
Technique 2: Add Epoxy "Wash" Design
Adding some flair doesn't have to involve cutting into your workpiece at all, but by adding on top of it with epoxy.
The most popular design is the ocean waves that are all over Etsy and Pinterest. For the ocean design, mix up the epoxy, then separate into cups for clear, blue, white, and yellow. I find it easiest to add the yellow and blue first to set the boundaries, then add a line of clear topped by a line of white before moving the "waves" around with a heat gun.
Start with the ocean design first, then start to experiment with your own way of mixing colors for your own designs.
Technique 3: Layer Multiple Small Layers Together
Not comfortable with routers or epoxy yet? No problem.
If you have a scroll saw or band saw, you can cut your design out in multiple layers that will stack together to form something new. The amazing sign work that's online is a prime example of what some amazing artists have achieved with these basic tools. It does take a little more thought to think in what "exists" at each layer, but a tip I got from a pro is to sandwich all your layers together for the initial cuts, then remove them and refine each one individually.
With a couple of practice designs, you'll be thinking in layers better than a 3D printer.
Technique 4: "Burn" With A Scorch Marker
Burning things sounds scary, but a scorch marker lets you add the effect without the flames.
Admittedly, I've only tried this once with a sample I got from a conference. The best results I've seen used a vinyl cutter to cut the negative of the design so the vinyl can act as a mask. If you don't have a vinyl cutter, you can do the same thing manually with masking tape and an x-acto knife.
The key is to mask what you don't want burned, mark the design, remove the tape, then use a heat gun so the marker can darken the wood.